Wiki Home >> ADAM-FujiNet-Quickstart-Guide
ADAM-FujiNet-Quickstart-Guide
Table of Contents
- Getting to Know Your FujiNet
- Hooking Up FujiNet
- Bootup Notes and First Boot
- Navigating CONFIG
- Web User Interface
- Updating Firmware
Getting to Know Your FujiNet
- On the left side of the ADAM FujiNet is the power switch; pull it forward for ON and back for OFF (see also Hooking Up FujiNet)
- The right side has a push/push MicroSD socket. The SD card must be formatted FAT32. The exFAT format is not supported.
- There are 3 status LEDs on top
- White LEFT
- On when WiFi connected
- Blue MIDDLE
- On when BlueTooth connected (BlueTooth is currently inactive in the firmware)
- Yellow RIGHT
- ADAMNet activity status
- White LEFT
- There are 3 buttons on top. Buttons support Short Press, Long Press and Double-Tap
- LEFT
- Short Press: TBD
- Long Press: TBD
- Double-Tap: TBD
- MIDDLE
- Short Press: TBD
- Long Press: TBD
- Double-Tap: TBD
- RIGHT
- Short Press: FujiNet RESET
- Long Press: TBD
- Double-Tap: TBD
- LEFT
- The back side has two RJ12 jacks for ADAMNet IN and OUT (labeled on top) and a MicroUSB port for Updating Firmware and serial debug output.
FujiNet Devices
There are a number of ADAM FujiNet devices becoming available. Check the discord for the most recent list of people producing them.
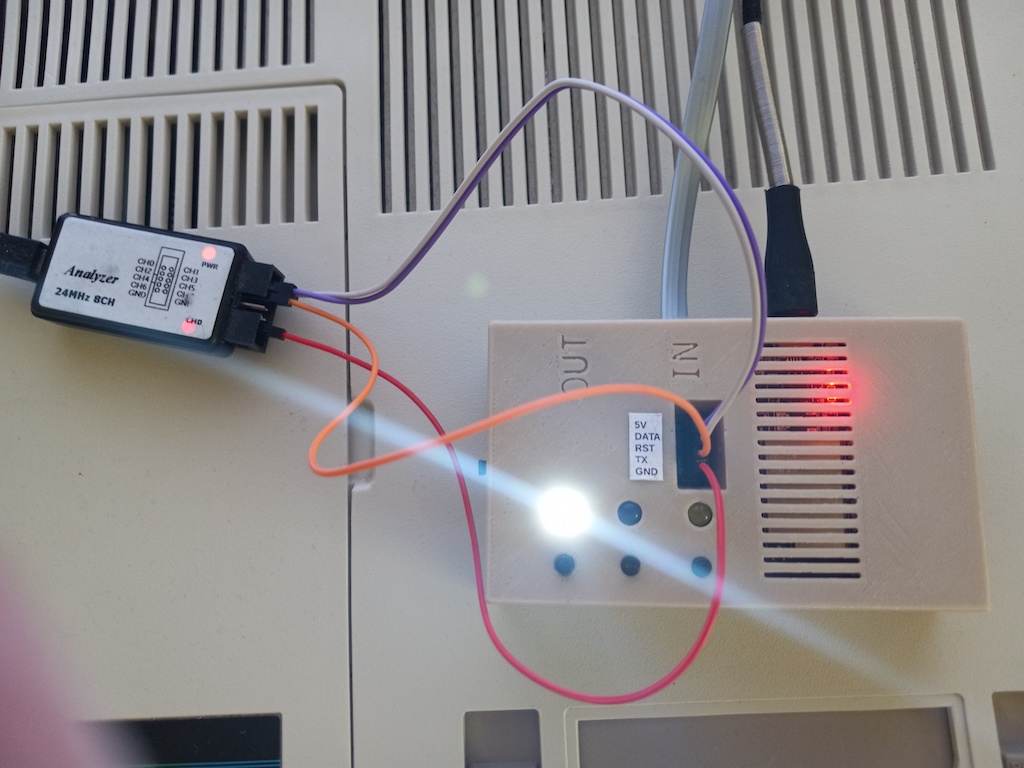
FujiNet for ADAM v1.0 with ADAMNet Debug Header:

The Mini FN looking tiny:

Hooking Up FujiNet
FujiNet is powered directly from the ADAMNet bus and no external power is required. You can, however, optionally power the FujiNet from the MicroUSB port on the back. If external power is applied, the power switch will not function to turn ON or OFF the FujiNet since power is being supplied directly to the ESP32-DEVKITC module. The MicroUSB port is also used to upgrade firmware and provides debug output messages to a serial monitor on a computer.
Connect an ADAMNet cable (RJ12 6P6C crossover) from the FujiNet IN port to an ADAMNet port on the Coleco ADAM system. You can optionally connect another ADMNet device (ie, keyboard or disk drive) to the OUT port on FujiNet with another ADAMNet cable.
Bootup Notes and First Boot
When you turn on the ADAM with FujiNet connected it will first boot to Smartwriter (or another disk/drive if available). The FujiNet is not fast enough to completely boot and be ready before the ADAM boots. You can hold the ADAM reset button for a few seconds while turning it on to give FujiNet time to startup, then release reset. You can alternatively power the FujiNet from it's MicroUSB port (see Hooking Up FujiNet).
When you turn on the ADAM with FujiNet connected it will load the CONFIGuration disk from FujiNet. If it's the first time you booted the FujiNet or if the saved WifI access point is not available you will be prompted to setup a wireless connection.
Select your access point and enter it's passphrase.
PLEASE NOTE: FujiNet is powered by the Espressif "ESP32" chipset, which works on 2.4GHz WiFi networks ONLY. If you are using a "mixed" 2.4GHz/5GHz WiFi network (using both radio bands with the same SSID), you MAY have problems connecting your FujiNet device with other devices on the network.
Navigating CONFIG
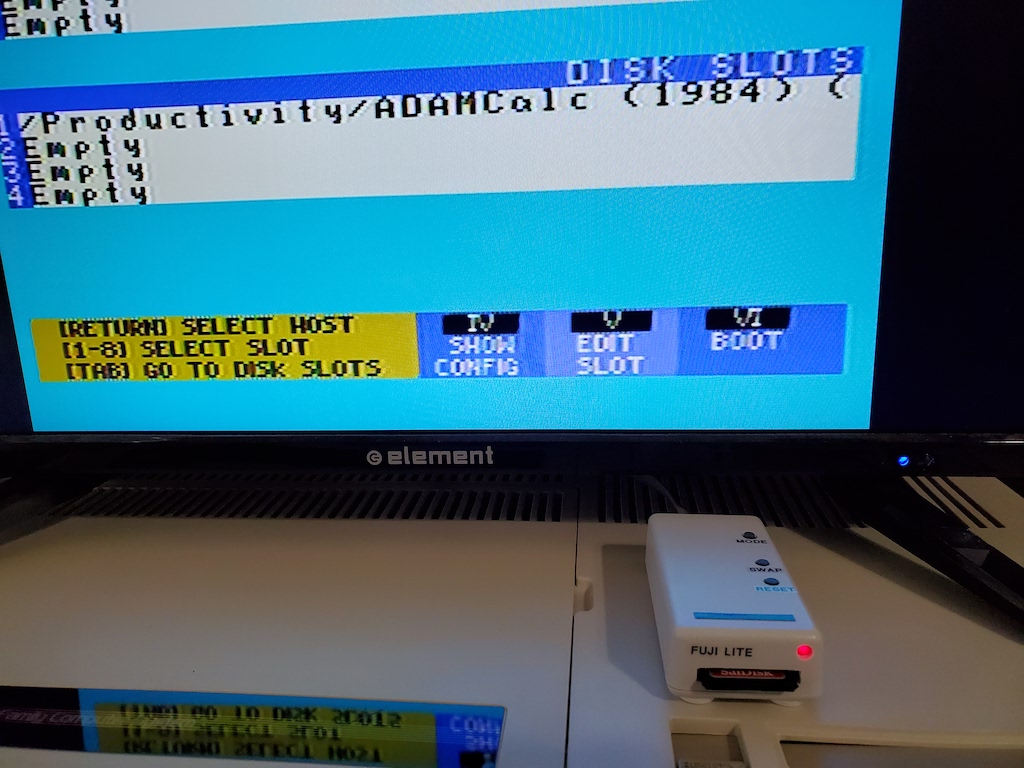
CONFIG was designed to be intuitive and reminiscent of ADAM programs like Smartwriter. On the main CONFIG screen you will see host slots on top and disk slots on bottom. You can jump between the host slots and disk slots with [TAB]. Selecting a host slot ([RETURN]) will begin the process of selecting and mounting a disk image from the host to a disk slot.
Host slots can be an IP address or hostname of a TNFS server (eg, adam-apps.irata.online). Any host slot can also be named SD which points to the onboard SD card socket. With a host slot selected, press [V] to edit it.
Web User Interface
Your #FujiNet makes available a simple web-based configuration interface when you visit your device's IP address while it's powered on.
To find its IP address, use the [IV] "Show Config" option, available in the main screen of the CONFIG program. You can also find the #FujiNet in your router's list of connected devices, by its hostname (default: "FujiNet").
For example, if your #FujiNet's IP address on your local network is "192.168.0.123", you would visit http://192.168.0.123/ in a browser connected to that same network.
Updating Firmware
You can download the FujiNet-Flasher (for Windows, macOS, or Linux), from https://fujinet.online/download/. For more information, see FujiNet-Flasher
Wiki content is mirrored from the FujiNet Github Wiki
